HOW TO CONNECT PC TO NETWORK
|
|||
|
Computer network or data network is a digital telecommunications network which allows nodes to share resources. When you have two or more computers, it can be convenient to connect them to each other to create a local area network. To connect computer to network simply follow the simple steps below.
|
||
Step 1: Computer IP address
Every computer in your network should have unique IP address so that your network can identified whos computer using that IP address.
IP address ex. 192.168.1.1
Avoid duplicate IP addresses. It would show limited connectivity in your desktop, it would say it as unidentified network.
Firstly, you need to decide, which computer you want to make as server. You should choose that computer which has comparably good performance.
Do this individially on all of your computers
Example if you have Four Computer
For computer A should have IP address like 192.168.1.2
For computer B should have IP address like 192.168.1.3
For computer C should have IP address like 192.168.1.4
For computer D should have IP address like 192.168.1.5
192.168.1.(any number) as long as there not using the same digit is fine.
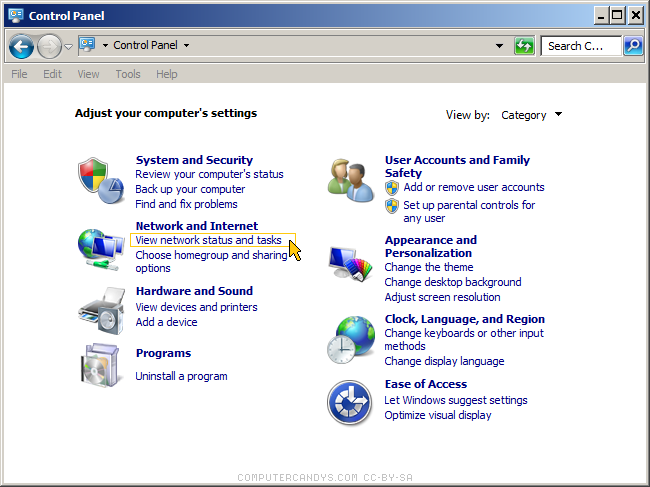
How to assign an IP address in windows


Put this number to the box area
IP address: 192.168.1.2
Subnet mask: 255.255.255.0
Default gateway: 192.168.1.1
Click use the following DNS server addresses
Preferred DNS server: 192.168.1.1
If you also want internet sharing then put the following IP address in Default Gateway and Preferred DNS server: 192.168.1.1
If you are setting up a wireless connection then you have to make sure that your router's IP address is also 192.168.1.0-225
Step 2: Rename workgroup
We must make sure that the workgroup of both or all computers are at the same group name. If it is not, you must rename it.
• if the name of network of the first computer is "workgroup" and the second computer name of network is different like "officegroup" the two computer will not see each other in network because they have different groupname.
• if the name of network of the first computer is "workgroup" and the second or other computer name of network is also "workgroup" they will be able to connect to each other.
You can change and rename the computer name and network name by simply go to:


When your done renaming simply click OK to save
Note: You must restart your computer to apply these changes
Step 3: Connect to a network


If theres no password you will automatically connected but if password required, simply put the correct password then click connect.